Chocolate Tempering Workshop

In a Chef Jacket
Last weekend I had a really fun time at a Chocolate Tempering Solution Workshop conducted by the Chocolate Academy.
During the 4 hr long workshop I learnt about the 4 different methods of Chocolate tempering- Tabling, Seeding, Microwave and Mycryo.

The workbook we were given
It was really interesting to learn that it takes at least 7 days for the fermentation of the cacao beans to occur and that from the beans it is made into cocoa paste & cocoa mass.
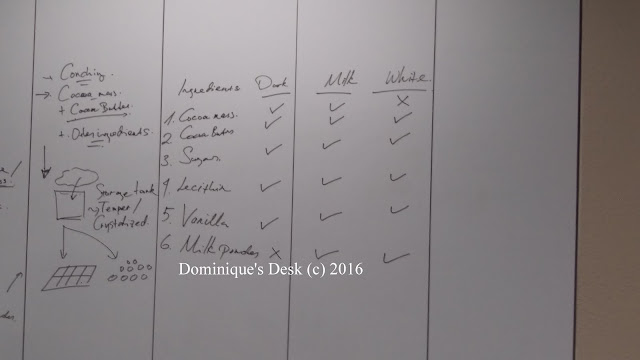
Part of the notes we were given during class
I learnt about the difference in composition between Dark chocolate, White chocolate and Milk chocolate. White chocolate didn’t have cocoa mass in it while Dark chocolate omitted the use of milk powder in the mixture.
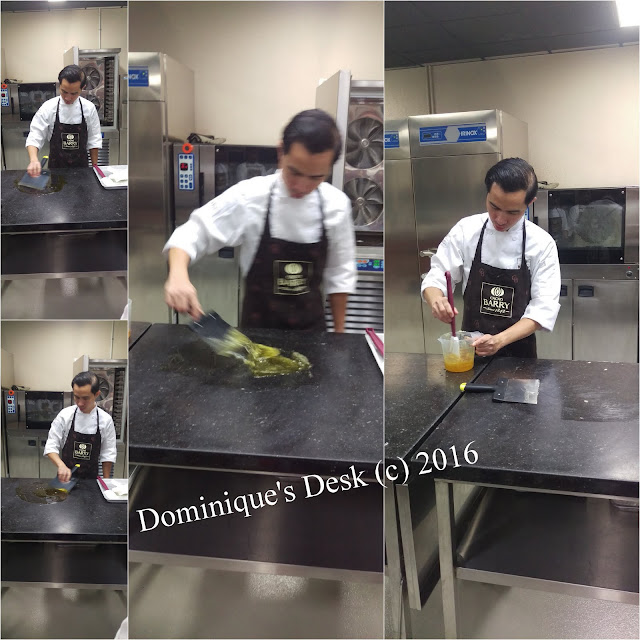
The chef demonstrating the tabling method
The first method of Chocolate tempering done by Chef Agus was Tabling which was demonstrated on a marbled work station. He heated up the chocolate in a warmer overnight to a temperature of a maximum of 50 degrees Celsius (for Dark Chocolate).
This mixture was poured onto the table and using special spatulas he quickly moved the chocolate from one side to the other. The movement caused the crystalisation within the mixture making it tempered.
He made it look easy and effortless but it was not as easy as it seemed. My group failed at it twice and had to redo it so that chocolate could reach the ideal stage. I guess it too needs experience and practice.
There are optimal temperatures which the different chocolate mixtures had to be brought to for optimal tempering.
Dark Chocolate: 32-34 degrees Celsius
White Chocolate: 28-29 degrees Celsius
Milk Chocolate : 29-30 degrees Celsius
During the tempering process crystals within the chocolate mixture is multiplying making it easier to take shape to the mold used.
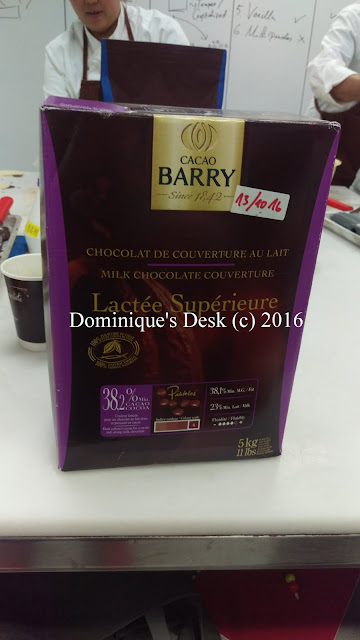
The Milk chocolate that we used
During the Seeding process one had to add 25% of un-melted tempered chocolate to the melted chocolate. This will “re-active” the crystallization process and make it into workable chocolate.
The 3rd method I learned that day was the Microwave method. It seemed the easiest method but was the most cumbersome by far. This method only worked with new chocolate and I had to do it step by step working with 20 seconds intervals to ensure that the chocolate is not burnt in the process.
The last method I learned was using Mycryo ( which is a type of powdered cocoa butter) which was added into the chocolate mixture to temper it. About 1% of this substance is added in the mixture to stimulate the crystallization process.
This method is recommended for small quantities of chocolate as Mycryo is really costly to use.

The products the class made
After the 4 hour session these are the products that we created – bar chocolates and chocolate lollies.
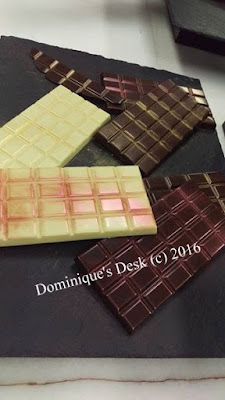
A close up of the bar chocolates

The chocolate lollipops
These chocolate lollipops had printed edible imprints on it which really looked lovely. They tasted equally good too!!
Have you tried making chocolates before?

Disclaimer: I paid for the course as I was interested to learn more about tempering chocolate.